This article / video will go through how to create a new Part Record in Blackpurl
New Part Records are generally created when you upload a Vendor Price File but there may be times that you need to manually add a new Part Record
Please note that the Vendor must already exist in Blackpurl - If the Vendor does not exist in Blackpurl then you will need to add the new Vendor first
This article will assist - How to Create / Add a New Vendor
Video - How to Add a New Part
Article - How to Add a New Part
- From the Blackpurl Header > Click on
 >
> 
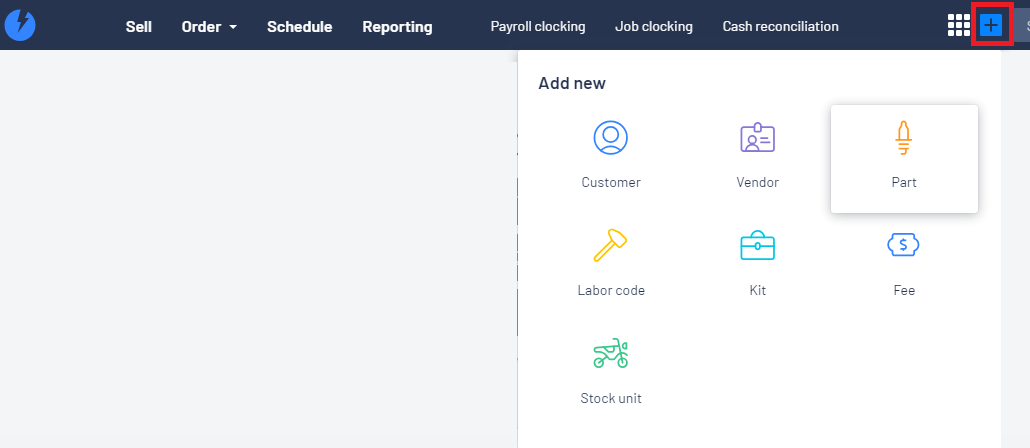
- Complete the relevant details on the New Merchandise window (just work your way slowly down the fields) and then click on

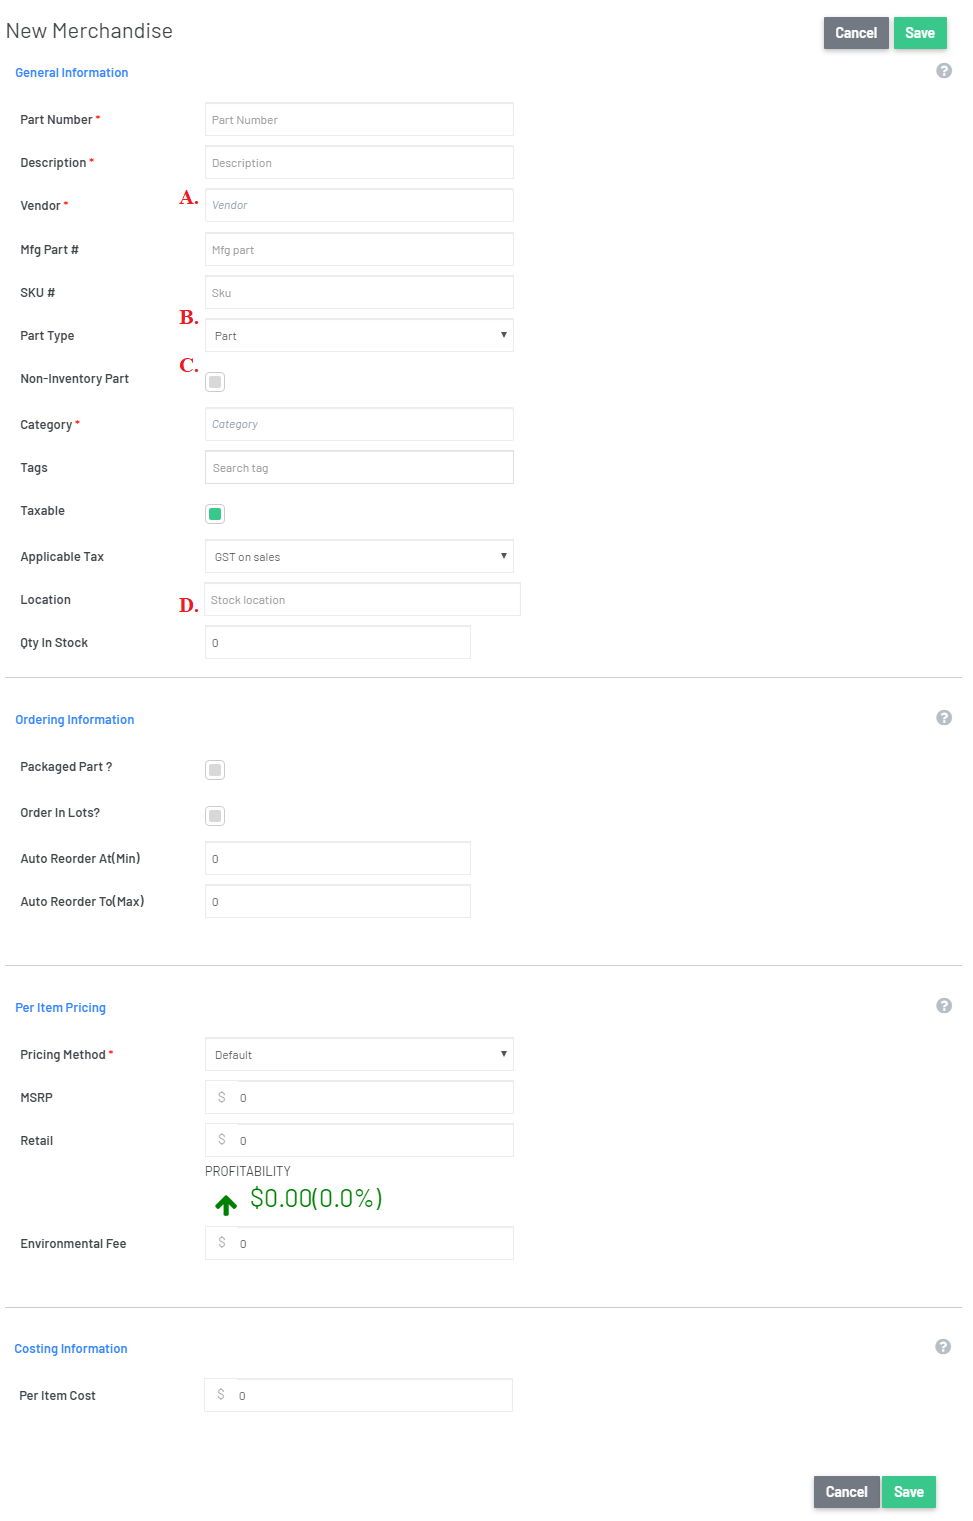
A. If you are creating a new part from a new Vendor, you will need to create the Vendor first
Review our article - How to Create / Add a New Vendor
B. For Part Type - if the Vendor for this part has been setup for Products and Services - Part Purchases
and Merchandise Purchases such as this Vendor:
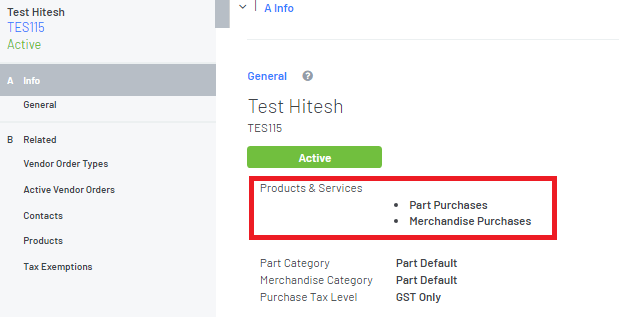
then on the Parts record - you will be required to select a Part Type:

For further information on Products & Services - please review our article - How to Setup Vendor Products and Services
C. This is the non-inventory part indicator
If you indicate that the part is a non-Inventory part, then you are basically telling Blackpurl that you do not want to keep track of quantities and/or average costs etc
If you add the non-inventory part to a Customer Order, it will automatically tell you it is in stock as it does not go through any Special Order VO/VR/VI process nor will you be able to order a non-inventory part
D. Quantity in Stock - when you first create a new part, you can enter in the Stock on Hand in this section
**For our Dealerships that have Accounting Integration, please be aware that if you do enter a quantity as Stock on Hand at this point, it will create a stock adjustment journal over to our accounting package based on the quantity and the cost entered
Debit - relevant Inventory General Ledger
Debit - relevant Inventory General Ledger
Credit - the default Stock Adjustment General Ledger
If you don't enter in a Quantity at this point, you will need to do a Part Stock Adjustment at a later date if you need Stock on Hand
Please review our article - How to Complete a Part Stock Adjustment