This article will cover how to use the Part Counting tool for a Cycle Count
Please only count the AVAILABLE quantities
Prerequisite:
The Dealership has already created a new Part Count Session for a Cycle Count
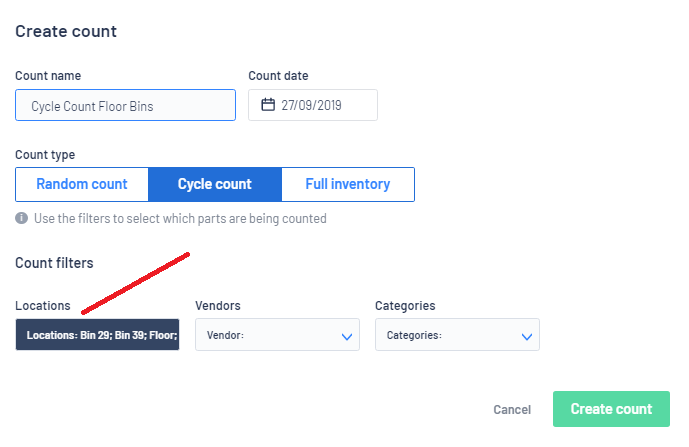
When creating a new Part Count Session for a Cycle Count you have the option of the Count filters of - Locations / Vendors / Categories

For a full overview of Part Counting Tool and how to create a new Part Count Session, review our article - Part Counting Tool - Overview
How to Process a Cycle Count
In our example below, we have chosen to do a Cycle Count using the Count filter - Locations
When we created the Count session we added the relevant Locations
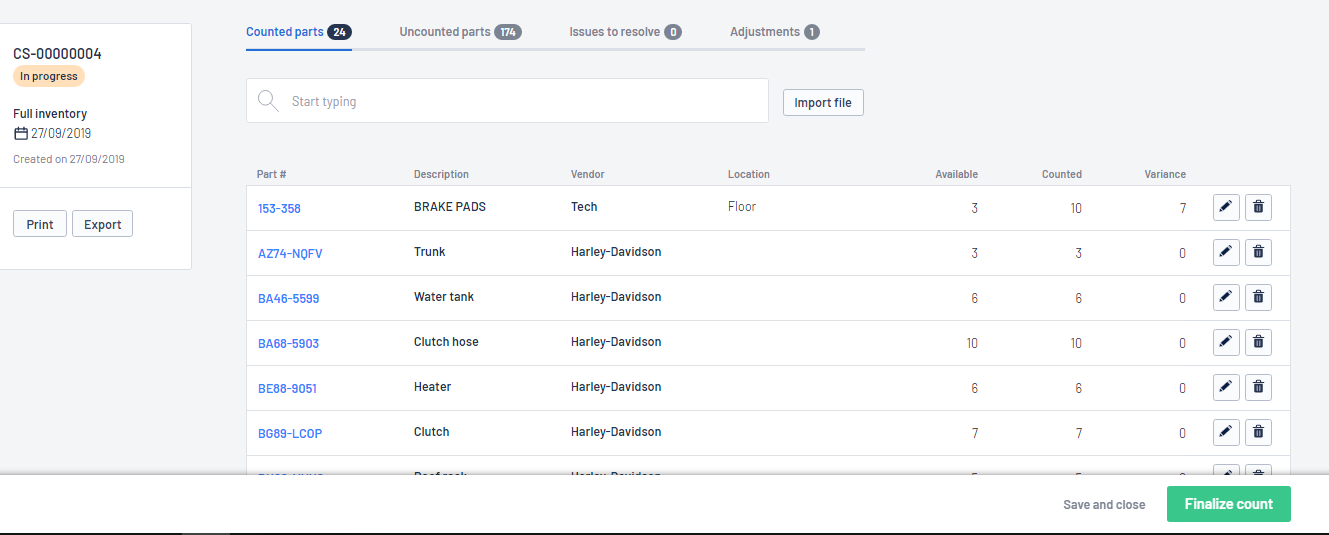
Let us review the count session screen:
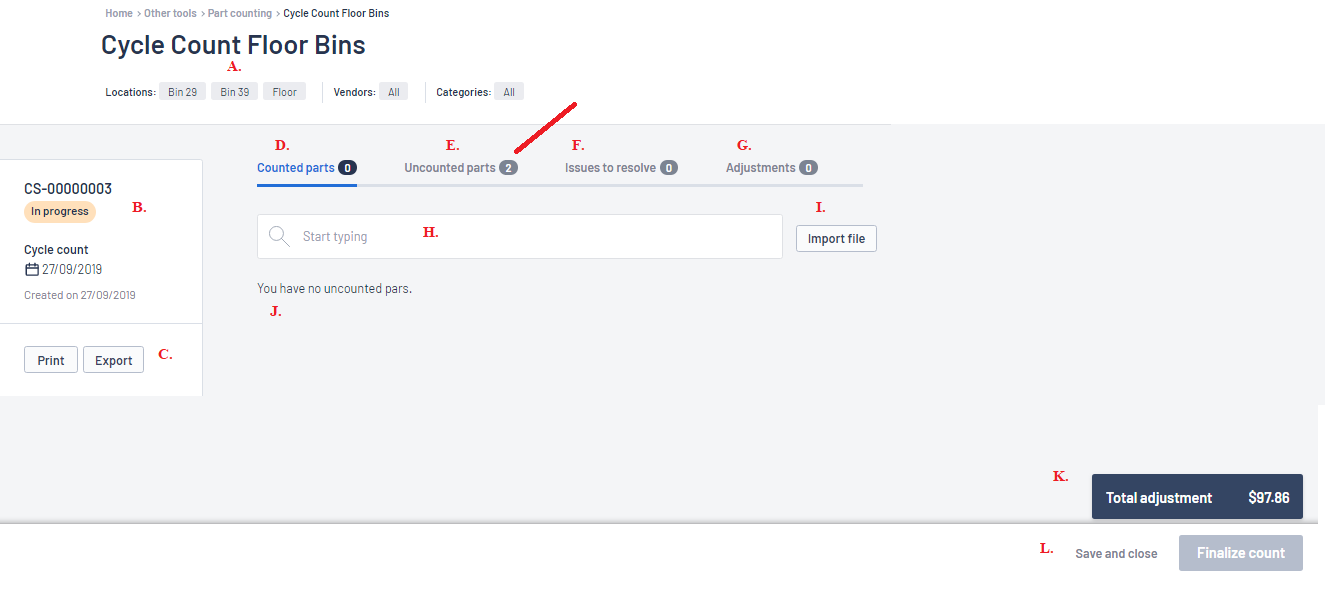
B. Details on the Count Session ie Number / Status / Date
C. You can print or export the count session list
D. Counted Parts tab - will list the parts that have been counted
E. Uncounted Parts tab - Blackpurl will then generate a list of all parts under those locations
F. Issues to Resolve tab - will list any issues ie duplicate parts etc
G. Adjustments tab - it will list any adjustments that will be needed
H. Start Typing - where the user will scan in the part being counted or manually type it into search
J. A list of the counted parts
K. Total Adjustment - an estimate of the current adjustment
L. User will be able to SAVE and close or Finalize count
Getting Started
There are three options for entering in your part count into Blackpurl:
Option 1
- The user would manually search for and add the parts that they are counting
- User would ensure that they are on the Counted Parts tab and then start scanning or manually type/search for each part
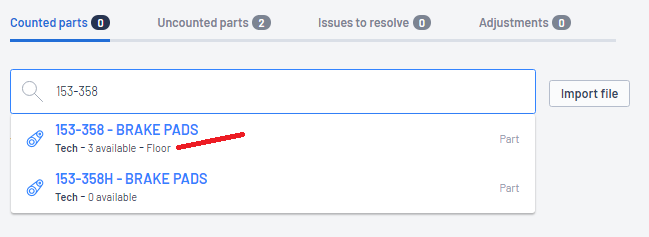
- Once the part is selected - the Record Part Count window will pop up for user to key in change to the location (if any) and then the user will add the Counted quantity then click on

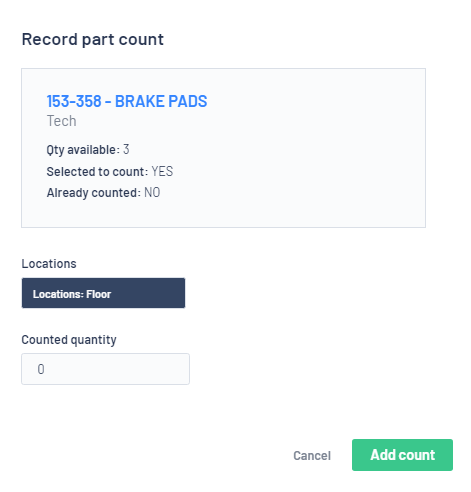
- Blackpurl will add the part and the adjustment (if any) to the list of counted items
- The user would then complete the same action for each and every part they are counting for this Cycle Count session
Option 2
- All items have been counted and are listing on an import file/s ready for import into Blackpurl
For information on barcode scanning apps, review our article - Using a Barcode Scanning App to Help with Counting Your Part Inventory
- User would ensure that they are on the Counted Parts tab and then click on

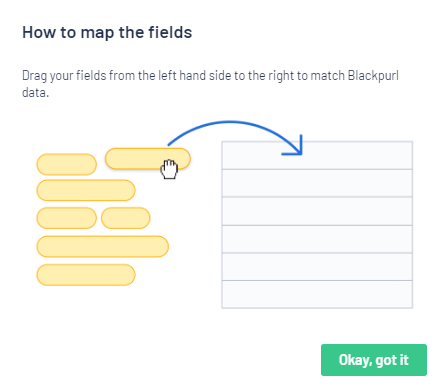
- The user will be given a quick screen shot on How to map the fields and then click on

- First action is to upload your count file into Blackpurl into section A.
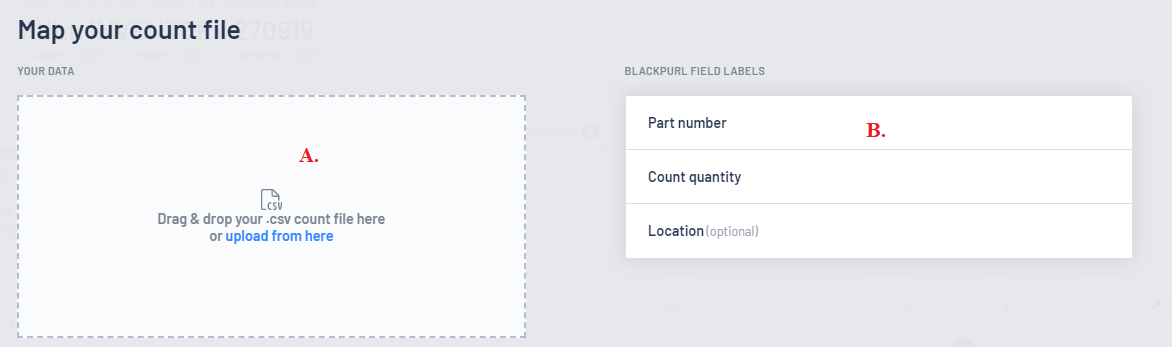
- Once the file is uploaded you are then required to map the fields ie which column from your count file upload is Part Number / Count quantity / Location (optional) into section B.
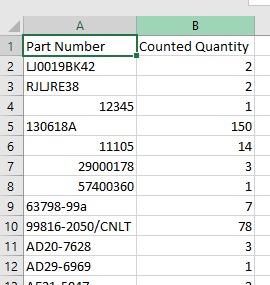
- This is a quick snap shot of our example count file - note the two columns: Part Number / Counted Quantity
- When the count file is upload into Blackpurl, the system can see that there are field labels (column headers) unless you indicate that the First row does not contain data (See C. below) the relevant toggle in the screen shot below
- It is these field labels that need to be mapped to fields within the Blackpurl Part Count tool
- Once you have mapped your field labels, also indicate if you want Blackpurl to Automatically merge duplicate parts (See D. below)

- Then click on

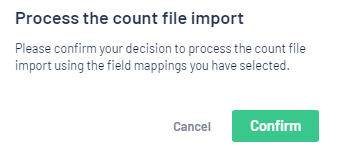
- Blackpurl will ask you to confirm the upload by clicking on

- During importing, Blackpurl will match what you have provided to the parts in Blackpurl
The logic is that the tool will then match the Part Number giving in the import file to Part or SKU numbers in Blackpurl
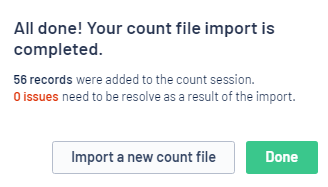
- Once the file has been uploaded you will get the opportunity of loading another import file or just say you are done
Option 3
- Use a combination of Option 1 and 2 - Upload csv count files and also do manual entries
Reviewing the Count
All the parts are now listed in the Counted Parts section
We would now recommend that you review and action as required each of the tabs:

- Counted Parts - will list parts you have imported or manually added as the count
- Uncounted Parts - will list parts that the system indicates have available stock Blackpurl BUT are not on the list of counted parts
We would suggest that the Dealership take a good look at any uncounted parts - have you not counted a location? Is there a missing import file?
- Issues to resolve - if there are any issues with the part count / part number / duplication etc that you need to review
This is also where you will be given the option of Merge all duplicates or Delete all issues

- Adjustments - this is a list of the current adjustments that the system is looking to make
Save and/or Finalizing the Count
Once the user is finished this session, the Dealership has the option of Save and Close or Finalize Count
- Save and Close - will allow you to come back to this Count Session at a later time
The Part Count Session will now list in under the Open Counts tab and you can access it again by clicking on the relevant line item

- Finalize Count - will start the finalizing the count and calculating the adjustments amount and requirements
PLEASE READ OUR RECOMMENDATIONS BEFORE THE FINALIZE COUNT:
- Review the Adjustment tab as it will list the adjustments
- Review and resolve any issue listing under the Issues to resolve tab
- Review the uncounted parts list
- There will be always a running total of an estimate of the running Adjustment total, please review
When Finalize Count this amount could change as the system will then provide an actual cost adjustment figure based off the FIFO (First In / First Out) principle for cost
Once you are ready and click on Finalize Count, Blackpurl will ask you to review the information on the Finalize count session window
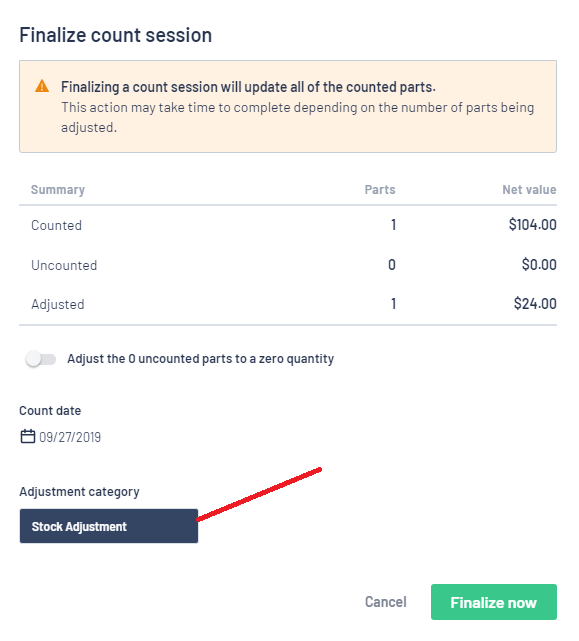
If all ok > click on 
Result
- The relevant Part Records will be adjusted accordingly with any changes in Available Quantity
- If you have Accounting Integration and have Finalize now, it would be at this point that the relevant parts are adjusted and the adjustment journal entry will integrates to the accounting package
- Once the Part Count session is finalized, it will closed out but it can still be accessed in the Count History tab

For further information, review our article - Part Counting Tool - Random Count
For further information, review our article - Part Counting Tool - Full Inventory Count
Was this article helpful?
That’s Great!
Thank you for your feedback
Sorry! We couldn't be helpful
Thank you for your feedback
Feedback sent
We appreciate your effort and will try to fix the article