This article is a step by step guide on how to create of amend Make / Model / Sub Model
Make / Model / Sub Model
- From the Blackpurl Header > click
 > System Settings >

- Any Makes already created will list here:

- To review the Models listing under a certain Make – click on
 next to the relevant Make
In our example below, we click on the Make Ford and the Models will list - in this example - Model Ranger list

4. Using the same concept above - to review the Sub Models listing under a certain Model - click on  next
next
to the relevant Model
Add New
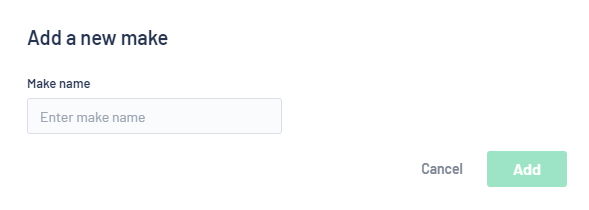
- To add a new Make – click on
 and complete the Add a new make screen
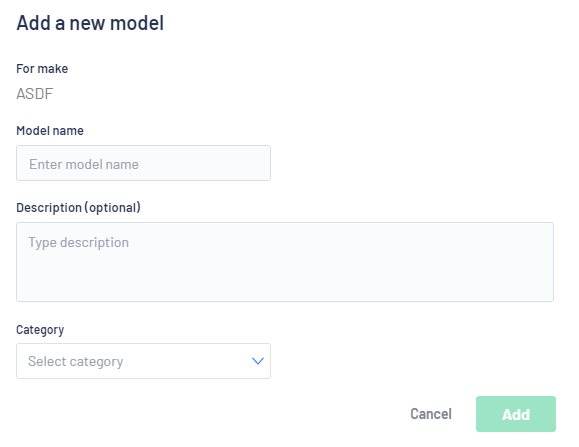
- To add a new Model – click on
 and complete the Add a new model screen
- To add a new Sub Model - click on
 and complete the Add a new sub-model screen
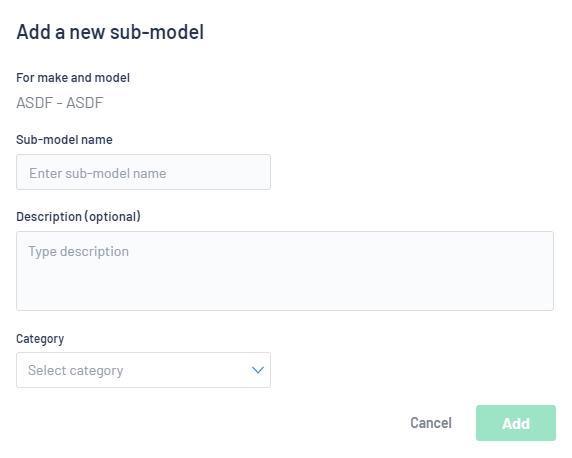
Description Field
- The Description (optional) field on both the Model and Sub Model sections, will allow the User to type in details about the unit

Edit or Delete
- If you wish to EDIT or DELETE > use the
 icons
icons
Please note that Users will not be allowed to delete any Make / Model / Sub Model if it is currently being used in Blackpurl

Alternative Way to Add new Makes and Models
Blackpurl will also allow you to add new Makes and Models when adding Customer Owned Units
If the Make or Model you want does not list when searching, just type in the new Make/Model in the search field then tab to the next field and the system will add it to the listing
For example, we want to add a Mazda 3 as a Stocked Unit > on the Stock Unit Window you can see that there is no Make: Mazda:
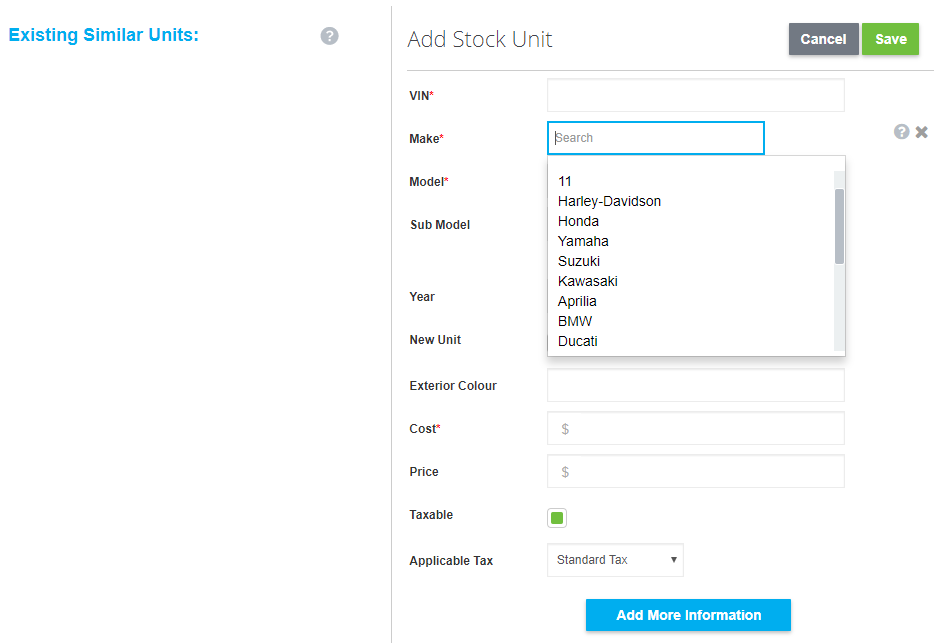
Next time you go to list the Make: Mazda and Model: 3 will list as well
If you do not have the ability to do this, then speak to your Manager about the User Permission - Create Make & Model Adhoc - Current User Permissions
Was this article helpful?
That’s Great!
Thank you for your feedback
Sorry! We couldn't be helpful
Thank you for your feedback
Feedback sent
We appreciate your effort and will try to fix the article