This article is regarding the setup of Price Levels or how to amend them
It may become necessary to setup new price levels for staff or for a warranty provider etc
This article will explain why it may be necessary for you to setup a new price level - Why Create New Price Levels?
How to Create a New Price Level
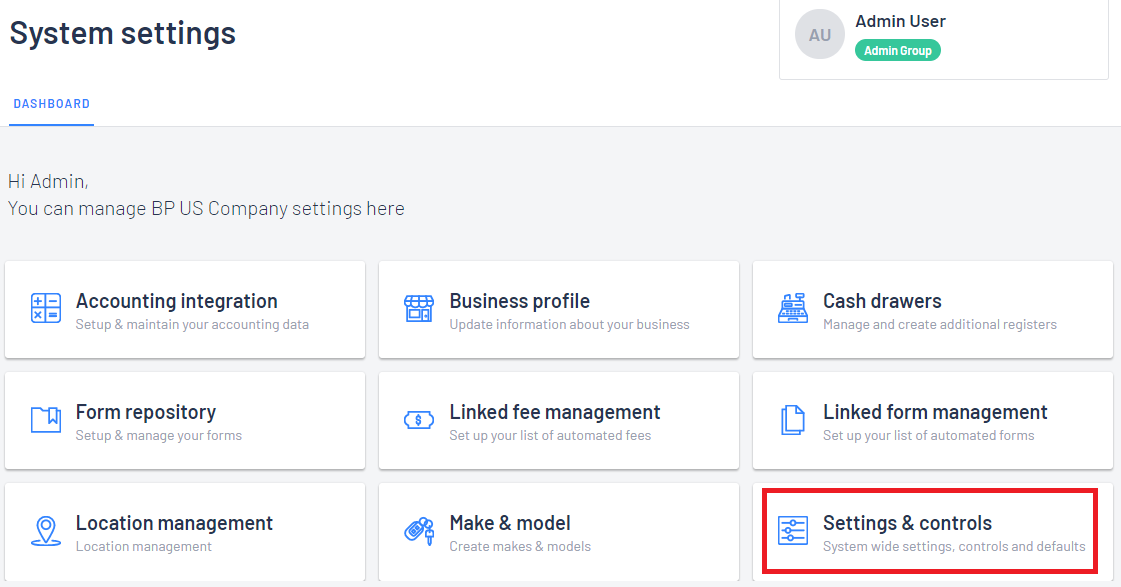
- From the Blackpurl Header > click
 > System Settings

**Please note if you find you are unable to access System Settings, please discuss your User Permissions with your Manager
- From the System Settings Dashboard > click

- From the Settings & Controls > open the Price Levels section
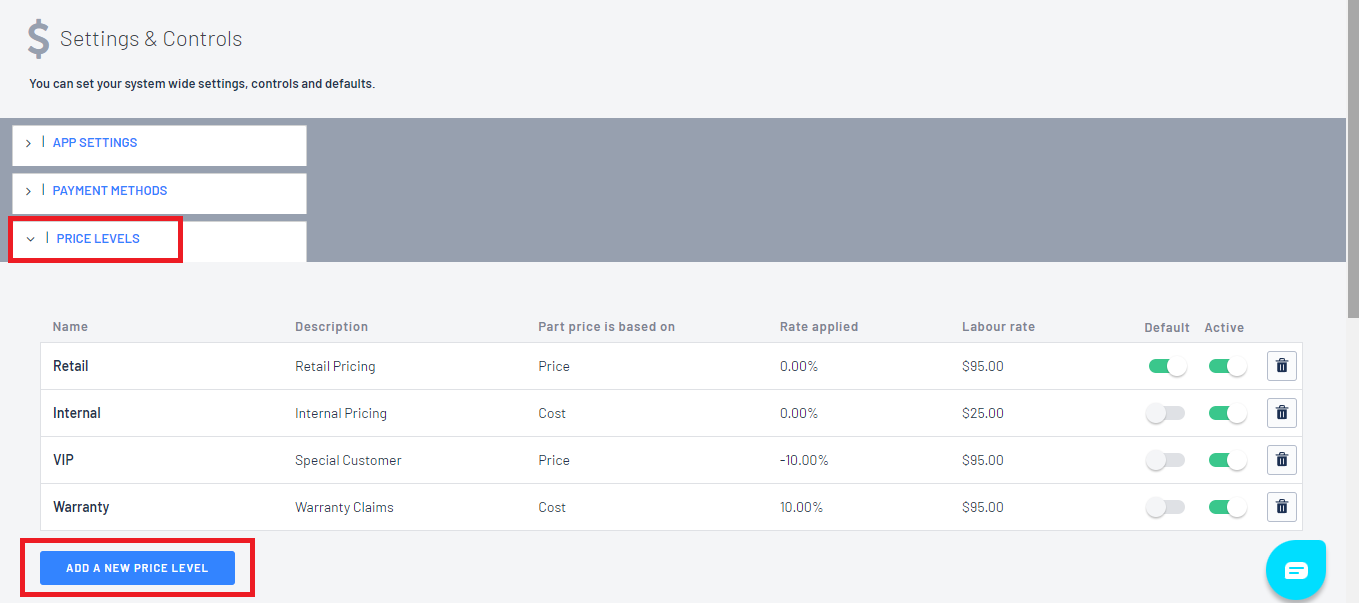
- To add a new Price Level > click on
 and an additional Price Level line will generate for the user to type in the information
1. Name Type in the name of your new Price Level - Please make it mean something and not just be random 2. Description Type in a description - a description could be what you need to use it for ie Insurance Claims etc 3. Part price is based on Use the drop down and select what the part price will be based on ie Price / Cost / Average Cost / MSRP as per what is on the Part Record 4. Rate Applied You can use positive and negative %
For example you can use the part price based on Retail less 10% so you would type in -105. Labour rate What is the labour rate associated with this Price Level
Don't forget to click on  once you have finished to save the new price level
Once you have finished the new price level will list with the other price levels
Example
We want to create a new Pricing Level for Employees / for parts they will be charged Cost + 5% / for labour they will be charged $95 / it will not be the default / it will be active
This is what we would setup

How to Edit / Amend an Existing Price Level
- To edit an existing Price Level > click on the relevant Price Level that you want to change - it will open up for the user to make their changes. Don't forget to click on

How to Delete an existing Price Level
- To delete an existing Price Level > click on
 on the relevant Price Level line item
It will ask you to confirm your deletion (the system will not allow you to delete a price level that is currently assigned on a Customer Record)

How to Change the Price Level on a Customer Records to a New Price Level
- Navigate to the relevant Customer Record and review the current Price Level
- If you need to change it click on EDIT

- Then on the EDIT screen, scroll down to Price Level and click into the field
- It will list your other Price Level options for you to make your selection and then click on SAVE

- The Price Level will now change on the Customer Record

- Going forward next time you create a new Customer Order for Parts & Accessories or Service Job, it will automatically bring over the new Pricing Level
- For any Customer Orders that are open in the system, if you want them to have the new Price Level, then you will need to click on Recalculate all Pricing for the new Price Level to engage
