This article will explain how to setup both your Payroll Clocking and Job Clocking including setup your Blackpurl if you want to give the ability to your Technicians to pause job clocking on jobs
For more details about Payroll Clocking and Job Clocking, please review our article - What is Payroll Clocking / Job Clocking / Productivity Reporting
Setup for Payroll Clocking and Job Clocking
To setup both the Payroll Clocking and Job Clocking, these are the following steps:
- From the Blackpurl Header > Click
 > System settings

- From the System Settings Dashboard > click on

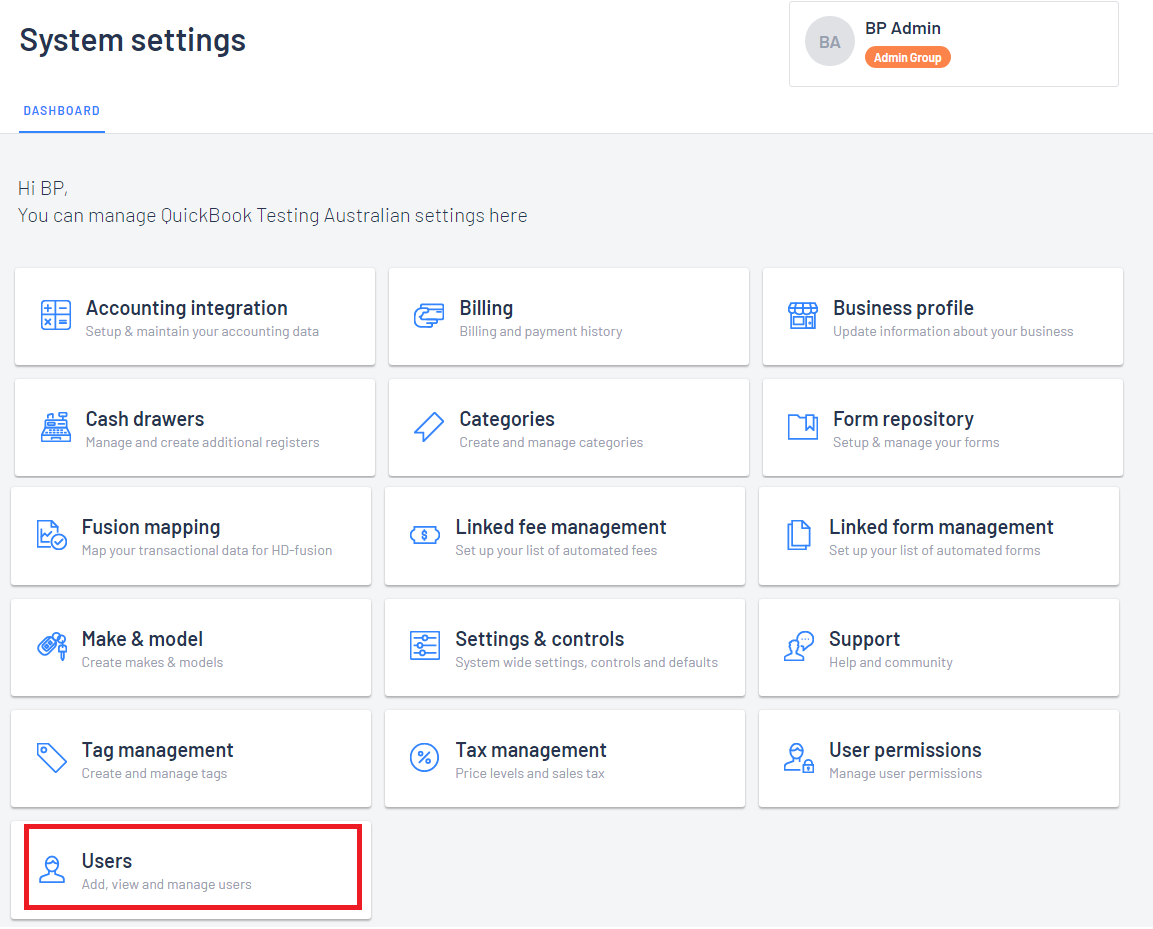
- There are two tabs on the User options:
- Licenced Users
- Time Clocking Staff
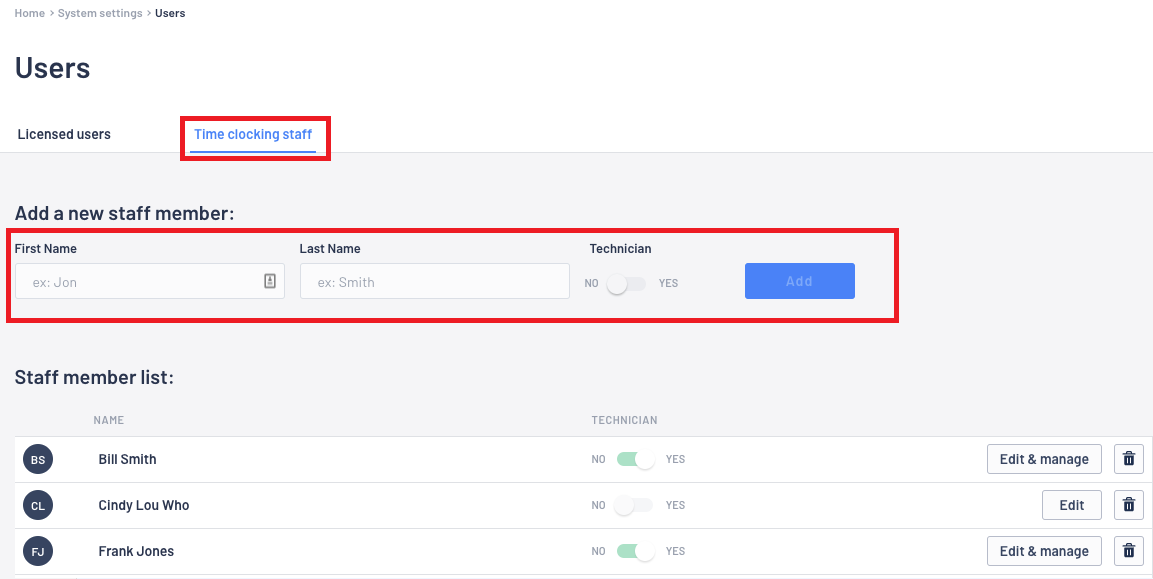
- To add a new staff member to Time Clocking Staff - complete the following:
First Name field
Last Name field
- Then move the toggle if they are a Technician (this is the indicator to tell the system if Job Clocking is a requirement for this staff member)
- Then click on

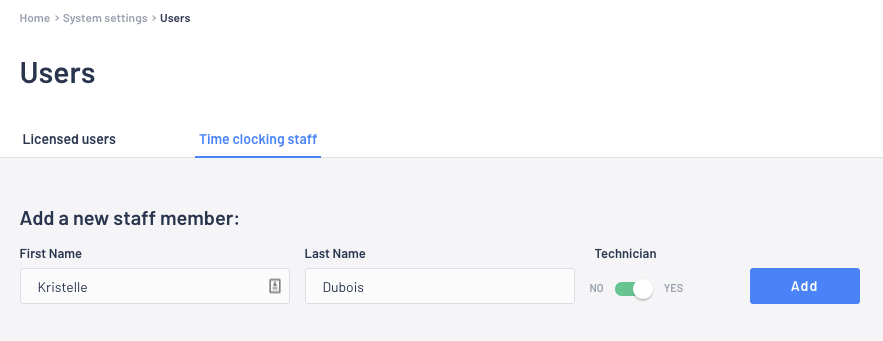
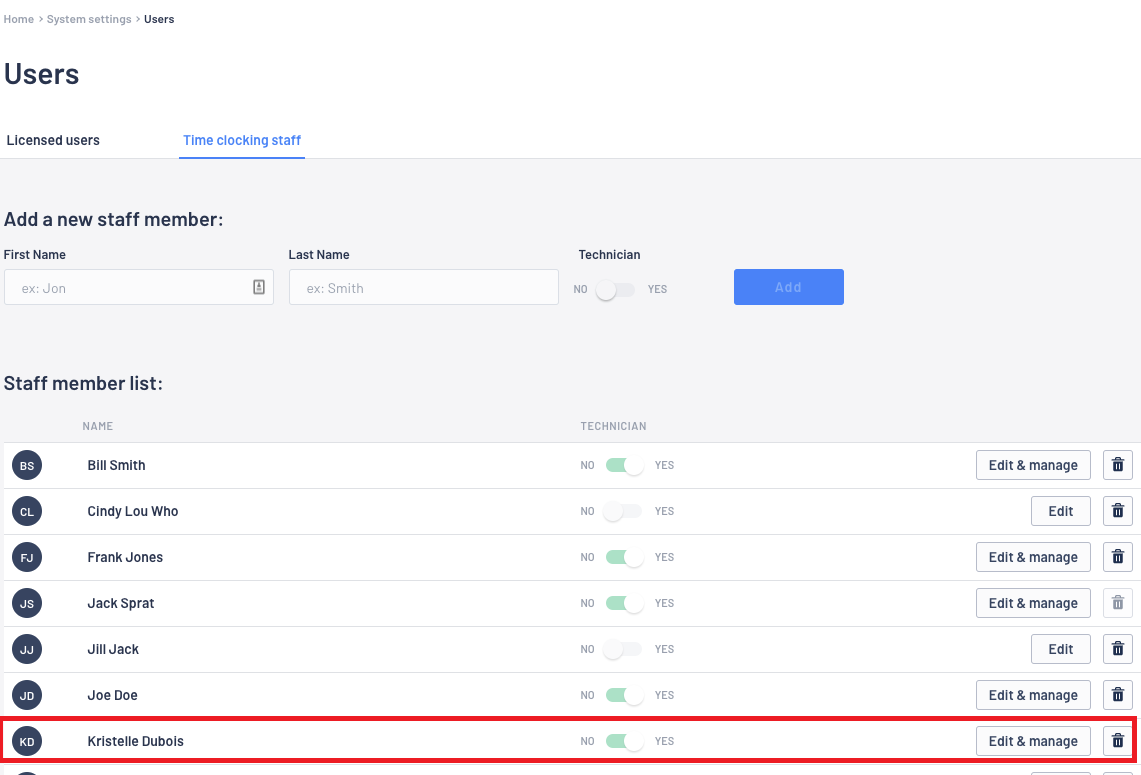
- As we have indicated that Kristelle is a Technician, a new screen will pop up for you to set the labor cost and work schedule of this Technician by filling in the relevant fields

Once you have finished, click on 
Tip
This is also the screen when you record their leave (days off) by clicking onto

- Once the new staff member has been added, they will list in the bottom section of the screen - Staff member list
Setup - PAUSE Job Clocking
If you want to give your Technicians the ability to pause their Job Clocking, then you will also need to enable the System Setting > Settings & Control - Shop Settings - Allow pause of job clocking

This action will now provide the Technicians with the ability to pause their Job Clocking sessions without actually job clocking off the job
The amount of paused time will be taken into consideration when setting the actually hours logged on a job and the accounting entries related to them
All Technician Hour reporting will now also include paused time
For further information, please review the section on Shop Settings in this article - System Settings > Settings and Controls
Was this article helpful?
That’s Great!
Thank you for your feedback
Sorry! We couldn't be helpful
Thank you for your feedback
Feedback sent
We appreciate your effort and will try to fix the article